Duplicate images are always troublesome as they hog valuable storage space and create unnecessary clutter in our devices. Once in a while, Instagram users have witnessed duplicate photos in their albums that were created by Instagram. This might be happening due to some issue with the Instagram autosaving settings.
So, if you are wondering how to delete duplicate Instagram photos without many hassles, then continue reading this blog further.
How To Delete Duplicate Instagram Photos
In the below segment of this tutorial, we will take you through two methods of deleting identical Instagram photos, one via your PC and another directly from your smartphone.
Method 1. Delete duplicate Instagram photos via PC using Easy Duplicate Finder
Easy Duplicate Finder can be readily installed on your desktop or laptop to delete the identical images created by Instagram in your phone’s gallery. The benefit of using the PC to delete images lies in the fact that you can use this process to remove duplicates from multiple phones. But lets us first learn about this tool in depth.
Steps to Find and Remove duplicate Instagram photos with EDF
Follow the below steps to delete duplicate photos created by Instagram on your smartphone via your Windows PC using the Windows app Easy Duplicate Finder.
- First and foremost, download Easy Duplicate Finder from the below link.
- Next, connect your smartphone to your Windows PC. It will be recognized as an external device.
- After this, click on the “Start Scan” button.

- This will take you to the next screen where you further choose the option “Advanced” and again hit the “Start Scan” button.

- Hit Win + E keys to open File Explorer on your Windows PC.
- Here, navigate through the below-given path to choose the correct folder:
Smartphone Name (from left pane) > Internal Storage > DCIM > Instagram folder
- Next, click on the duplicate Instagram photo folder to drag & drop it on the left pane (Include Folder) of the Easy Duplicate Finder app interface.
- Again, click the “Start Scan” button.

- The scanning will happen in just a few seconds and then you will be presented with the options – “Auto Remove” and “Manual Review.”
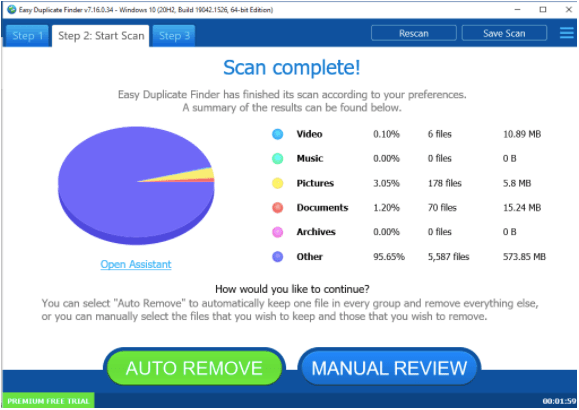
- You can confidently click “Auto Remove” to get rid of identical Instagram photos.
- To preview the results, you can click the “Manual Review” option. All searched results will be auto-marked.
- Further, all you need to do is hit the “Delete” icon to remove the duplicates from your smartphone. You can also click the “Edit” icon to remove some files.
That’s all! You can now close the app and when you get back to your smartphone, you will no longer be bothered by the duplicate Instagram images.
About Easy Duplicate Finder:
Easy Duplicate Finder by Webminds, Inc. is an excellent duplicate file finder application for Windows, Mac, and the Cloud. It can remove duplicate files to create hard drive space and also make your system super-fast.
It can effectively remove duplicates from HDD or SSD. This tool has an intuitive interface and smart technology that can be used for removing identical images, music files, videos, emails, and documents. Some incredible features of this app are:
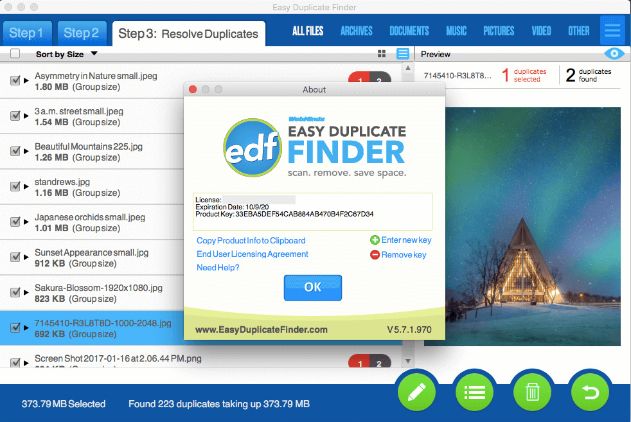
- Includes dual scan mode, one for easy direct scanning and the other for advanced scanning.
- The app is safe to download as it is DL Certified.
- Users can use the tool for free or use its premium version. The premium version comes with a seven-day trial period.
- It can remove duplicates from Google Drive, Dropbox, iTunes, iPhoto, etc.
- It is compatible with Windows XP through Windows 11 versions.
- Offers a folder comparison mode.
- It identifies identical images based on the same file type, file size, and even file extension.
- Offers the facility to exclude folders from scanning.
- Let’s users review, edit, or delete results, thereby offering more user control.
- You also have the option to recover accidentally deleted files with the help of the undo option.
Method 2. Delete Duplicate Instagram Images Directly from the Phone
For this purpose, you can use a duplicate file remover app for your Android smartphone. Duplicate Files Fixer is a powerful tool with multi-platform support.
It is a one-stop solution that can effectively remove duplicate photos, music files, videos, and more from your smartphone. Here’s how you can use it to remove identical Instagram images directly from your smartphone.
- Go to Google Play Store and install the app on your Android smartphone.
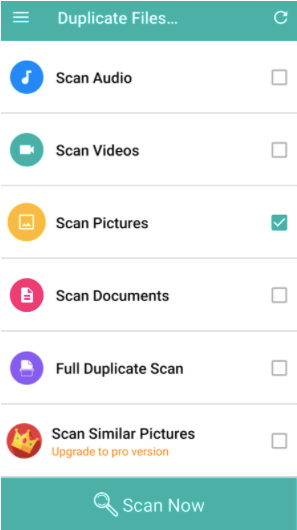
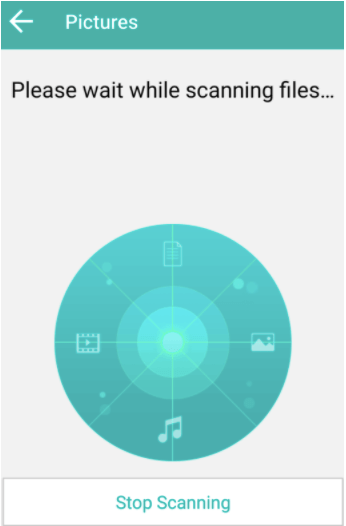
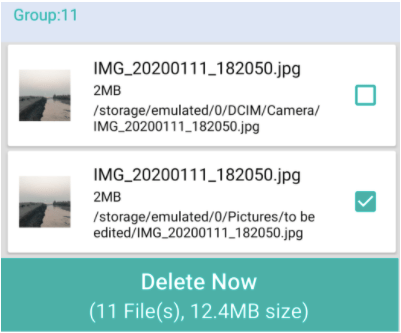
- After this, launch the app, click on “Scan Pictures” and then hit the “Scan Now” button.
- Further, you can preview the results where the duplicates will be auto-marked.
- You can then hit the “Delete Now” button.
Conclusion On How To Delete Duplicate Instagram Photos
Deleting duplicate Instagram photos can be streamlined using various third-party apps or by manually reviewing and removing duplicates within the app. Utilizing apps like Remo Duplicate Photos Remover or using Instagram’s built-in features to manually identify and delete duplicates streamlines the process. Whether using dedicated apps or Instagram’s tools directly, ensuring a clutter-free and organized photo gallery on the platform is achievable with a few simple steps, simplifying your Instagram experience.
FAQs
Can we delete a single picture from multiple on Instagram?
Yes, you can delete one photo from the multiple images that you have posted by uploading a carousel post by editing it and removing the images that you don’t need.
Why does Instagram create a duplicate in my photos?
Instagram creates duplicate images due to some Instagram settings. If in your settings, “Save original posts” and “Save posted photos” both are turned on, then it leads to the creation of duplicate images in the smartphone album.
How do I stop Instagram from duplicating photos in 2024?
You can either change the Instagram app settings to prevent it from creating duplicate images or you can delete them with the above-suggested methods.
Is there a way to delete duplicates in photos?
Yes, you can delete duplicate photos created by the Instagram app on your smartphone by employing the Easy Duplicate Finder app. The steps for the same have been elaborately given in the above blog post.
Also Read


