
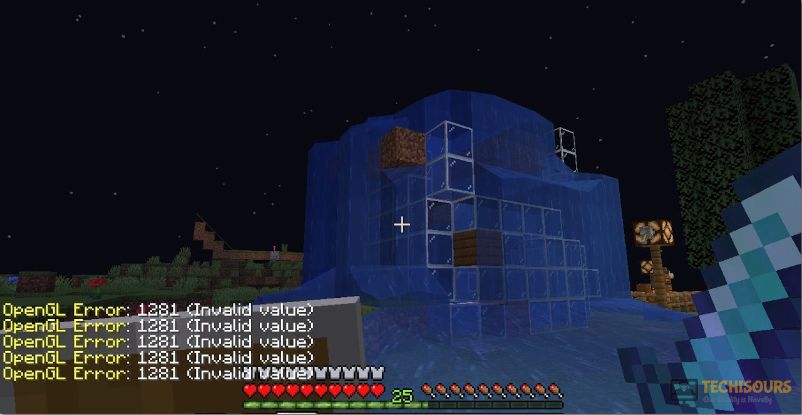
Most of us drop from heaven upon hearing the name Minecraft OpenGL error 1281 for the first time. None of us know it well enough, and thus this post is here to guide you, not only in the basics of OpenGL error but also in ways to fix it.
What is a Minecraft OpenGL error?
First, Open GL is a game setting that makes your game faster and smoother on the PC. It is built with the intention to reduce the load on the operating system.
However, even though Open GL is quite a hassle-free setting, but it is still prone to getting into errors. An erroneous Open GL results from the use of too many modded versions in the Minecraft game. To put it more precisely, where a player uses more than one Mod module, with one mod being incompatible with another mod, such an error can occur.
Now, if you already have the Open GL error 1281, you need to fix it to make your game faster and smoother again.
If you want to know how to fix OpenGL errors in Minecraft, below are some of the ways by which you can fix the Open GL error 1281.
How To Fix Minecraft OpenGL Error 1281
Solution 1: Eliminate the shaders
Shaders help one to set different terrains and settings like climate, weather etc and can be classified as mini-mods more specifically. As shaders will end up using different resources within an application, they will be creating a conflict for other mod modules.
To resolve the Minecraft OpenGL error 1281 issue, try to remove the shares one by one. Begin with the latest shader you have used and then end by removing the older ones. If you want to use them later, you can keep them somewhere safe by copy pasting them from this current location.
Solution 2: Check if Optifine is outdated
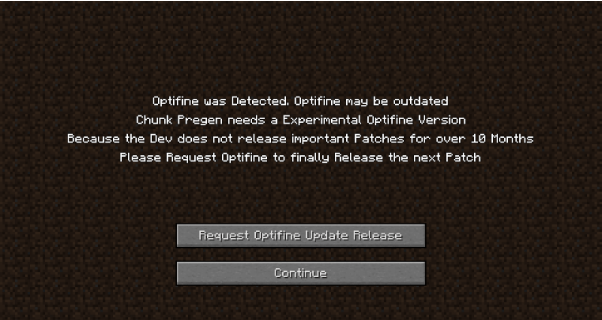
Optifine is a Minecraft tool that is used for the game’s optimization process. If you want your game to be fast and smooth with FPS Boost, HD texture complete support, allowing support for shaders, check your Optifine version if it is running fine and is the updated version.
If it is not the updated version, you must download and install the updated version on your device to resolve the OpenGL error.
Solution 3: Do a Manual install of JAVA packages
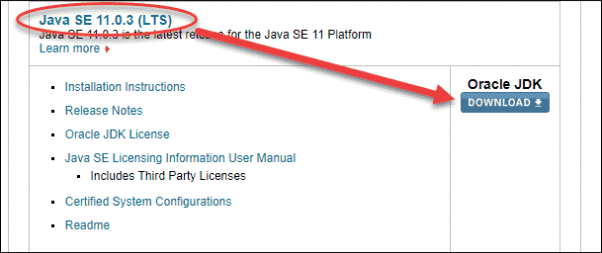
Different mods used in Minecraft are all JAVA files and by installing them manually, you are probably a step ahead in resolving this issue.
Here is how you must proceed with the manual installation of JAVA packages.
- Choose Properties by right-clicking on the My PC option available on your desktop.
- From the system type, choose the right file type as per your operating system.
- Do an extraction of your file and take it to an accessible location where you can open it and copy the file version.
Click on Windows + E to launch Windows Explorer.
C:\Program Files\Java (for 32 bit)
C:\Program Files (x86) \Java (for 64 bit)
- Paste the file you copied and ensure you copy the file with the right name.
- Launch Mod Manager and from the bottom of the file, press the Edit profile.
- Underneath the Java settings, find out the executable option and then replace it with the correct path.
- Reboot your system and launch your Minecraft again.
If you are still facing the Minecraft OpenGL error 1281 move to the next option.
Solution 4: Check if your Mods are Version Compatible
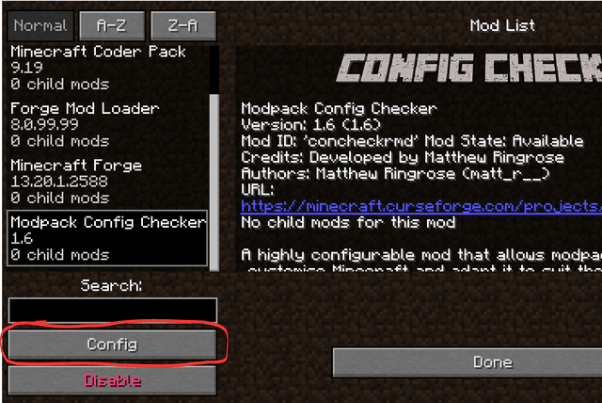
Find out the version compatibility of the mods from the official developer site for fixing the OpenGL error.
If any of the mods seem to be out of sync, ensure you either disable them or remove them from your device.
Solution 5: Consider reinstalling Minecraft
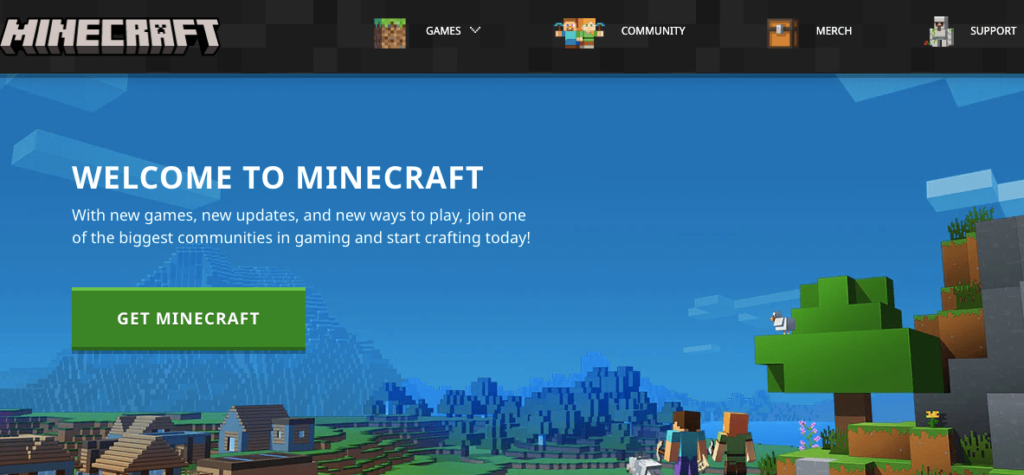
If you are still facing difficulties and have been unable to solve the OpenGL error issue, consider reinstalling the entire Minecraft game.
1. After pressing Windows + R, type appwiz.cpl in the dialog box.
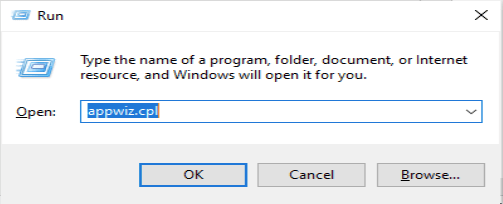
2. From the application manager, find out Minecraft, right click it to uninstall it.
3. Go back to the Minecraft website and download the game after inserting your credentials.
Solution 6: Try Updating Graphics drivers and Open GL.
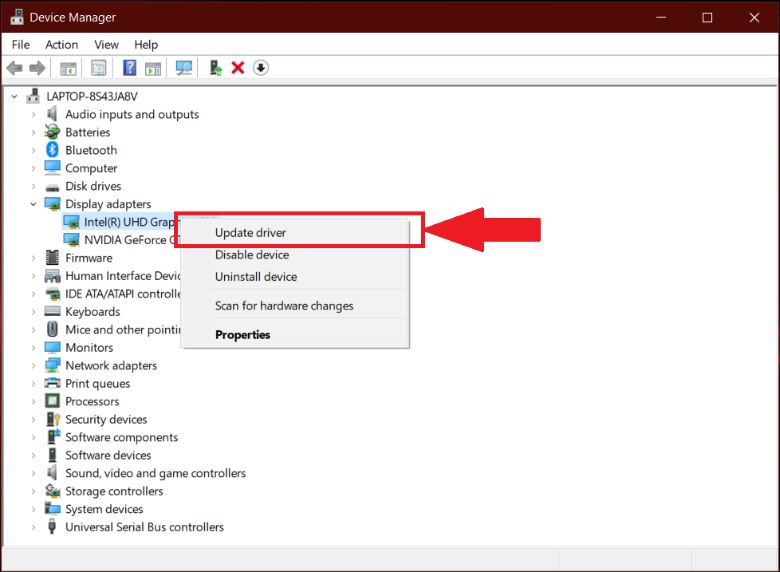
The outdated and crashed Graphic driver may cause the “OpenGL Error 1281” in Minecraft. Sometimes all graphic cards don’t support GL, so for that, you can try updating the latest version of Graphic card drivers.
For your information, there are two ways to update your graphic drivers’ update. One is manually, and another is automatic.
If you want to update your drivers manually, you can go to your video card manufacturer’s website. Right there, it would be best if you searched for the latest correct driver of your device.
After searching for the proper driver, you need to download and install it into your operating system with the help of Driver Booster.
Faqs
How do I fix OpenGL error?
To fix the OpenGL error, use the above ways to completely resolve the OpenGL error issues.
How do I hide OpenGL error?
To hide OpenGL errors, here is a small process to follow.
- Go to the Minecraft Options tab, press on the Video Settings, and then press the other option.
- Turn off the Show GL errors and after saving it, relaunch Minecraft.
How do you fix Glfw error 65542?
Either update your graphics driver, manually load OpenGL.DLL, or uninstall the Display link to fix the Glfw error 65542.
How do I get rid of OpenGL error 1282?
Use all the techniques suggested above to get rid of OpenGL error 1282.
Conclusion
If you are facing an Open GL error issue, follow this article to know what you need to do. Once you go through it, you will no longer fear the Open GL error issue as you can easily fix it yourself.
Also, Read
- Minecraft Realms Internal Server Error 500
- How To Fix Minecraft Won’t Launch On Windows
- How to Fix io.netty.channel.abstractchannel$annotatedconnectexception Error in Minecraft
- Fix: COD Modern Warfare Dev Error 6328
- ETD Control Center – What Is It & How to Remove It
- Reddit Search Not Working
- Error 0x80300024 While installing Windows (Fixed)


