Microsoft Windows has launched the latest version called Windows 11. However, it will be available for everyone soon. So, you need to know about the changes from now. We will some changes including the safe mode. If you are wondering how to boot into Windows 11 safe mode, we are here to help you out.
Safe mode is one of the most popular and useful features of Windows. If you have been using this operating system for a while, you already know about it. Hench, Safe mode is included in many Android operating systems.
The safe mode only works with default application settings and systems. When you boot your computer on the safe mode, you will see it in the right corner. In the following, we are going to cover how to boot safe mode in Windows 11.
Types of Safe Mode
Before we start with how to boot into Windows 11 safe mode, we need to know about all the types. There are three types of safe modes. Let’s find out about their functions.
1. Safe Mode
This one is the most basic mode when there’s no third-party app loading. Moreover, the basic drivers are loaded in this more. So, the graphics are not that good and the appeared to lack clarity. Moreover, you will see safe mode is written at the four corners of your PC screen.

2. Safe Mode With Networking
With this mode, network drivers will start loading. However, drivers and settings don’t load in this case. You will be able to connect to the internet in this safe mode. However, experts don’t recommend browsing the web while Windows is booting in safe mode.
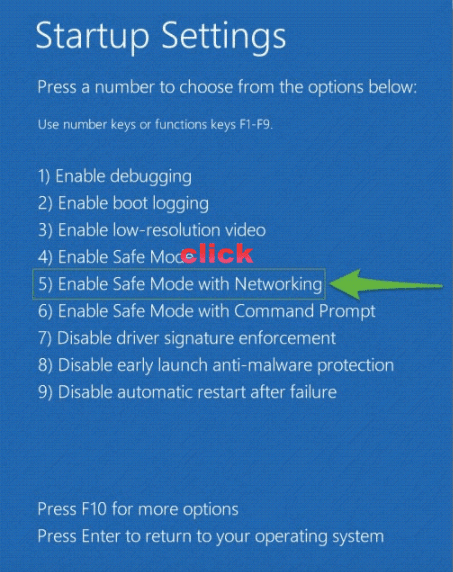
3. Safe Mode With Command Prompt
Command prompt is another type of safe mode. When you select this option, Command Prompt will be launched. However, the Windows GUI is not going to be launched in this mode. This means you will see a Command Prompt window on the screen. Most people use this for advanced troubleshooting.

How to Boot into Windows 11 Safe Mode
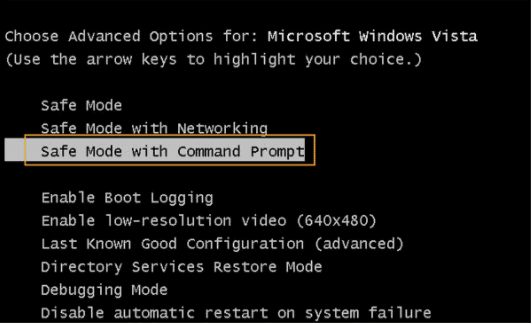
Now you know about the three types of safe modes. If you are clear with the concept, we can start with the how-to boot into Windows 11 safe mode guide.
1. Settings
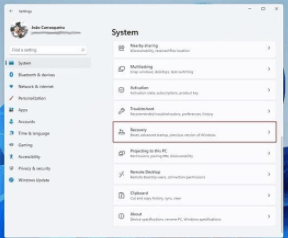
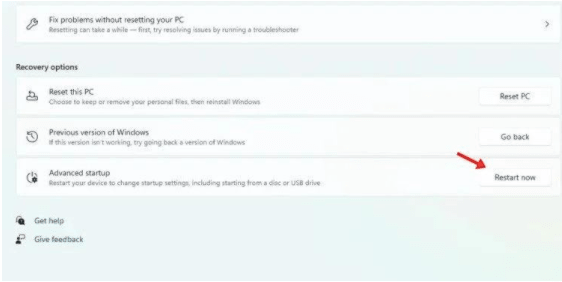
This is the most used booting method. To boot with settings, you need to search for ‘settings’ in the Start menu first. When you find the option, click on the search result and launch the app. You will see the ‘System’ setting will be launched.
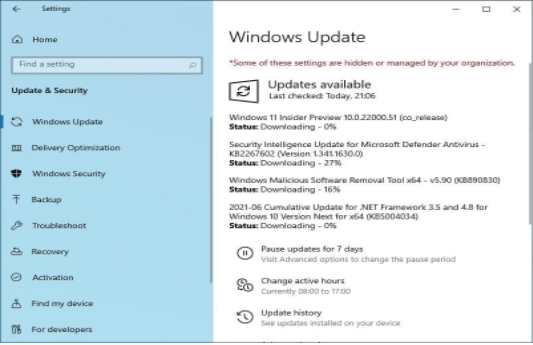
Start scrolling down until you find the ‘Recovery’ option. You will find several recovery options such as resetting the PC, advanced startup, and more. Now, click on the ‘Restart Now’ button.
A box will appear, click on ‘Restart Now’. The system will restart and then start in Windows Recovery Environment.
2. Start Menu
This is another way to boot into Win 11. To implement this, first press the ‘Windows’ key on your keyboard. It will launch the Start Menu. Next, you have to click on the ‘Power’ icon and hold the ‘Shift’ key. Then click on ‘Restart’. The Windows will restart in Windows Recovery Environment.
3. Sign-in Screen
If you are looking for another method to boot into Windows 11 safe mode, you can get it from the sign-in screen. When you are turning on the computer, you will be able to get to the Windows Recovery Mode from here.
To start this process, you need to click on the ‘Power’ button at the right bottom corner. Then, hold the ‘Shift’ key and click on ‘Restart’. The system will restart immediately. Now, follow the above-mentioned steps to launch the safe mode.

4. Command Prompt
Many people use Command Prompt for executing tasks on Windows. However, you can also start booting in safe mode. To start this process, you need to search for ‘Windows Terminal’ in the start menu first. Then select the app from there.
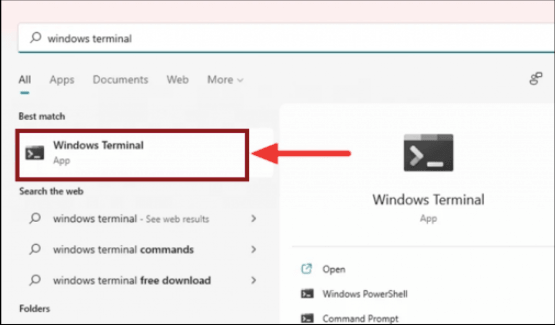
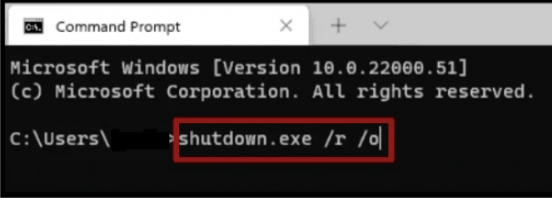
Make sure you are checking if the Command Prompt tab is launched. Once the Command Prompt is launched in the Windows Terminal, you need to enter ‘shutdown.exe /r /o’ and press the ‘Enter’ key. You will see a command where Windows will shut down for one minute.
5. By Modifying System Configurations
The above four methods will boot Win 11 in the safe mode once. So, when you are restarting the system, it will back to normal. However, if you want the safe mode to launch every time, you need to apply this method.
If you want to do this by modifying system configurations, you need to press ‘Windows + R’ to launch the ‘Run’ command. Now, you have to enter ‘msconfig’ on the search box. Enter ‘OK’ and press the ‘Enter’ key.

Now, check for ‘Best options’ and select ‘Safe boot’. Then click on ‘OK’ at the bottom of the box.
Click on ‘Restart’ in the confirmation box. Now, Windows will boot into safe mode every time you are turning the system.

6. By Force Shut Down
In some special cases, some issues will prevent Windows 11 from launching. However, you can fix it by doing a simple process. When Windows crashes three consecutive times, you will see the Automatic Repair Mode.
Here, you can do a fake crash. To start this process, first, turn on your computer and wait until Windows 11 starts booting. When you see it, long press the ‘Power’ button and shut down your computer.

Make sure you are repeating it thrice. When you are turning on the computer for the fourth time, it will enter Automatic Repair Mode. Now, you have to click on the ‘Advanced option’ and Windows 11 will start booting to safe mode.
Conclusion
Finally, you know how to boot into Windows 11 safe mode. There are several methods you can apply. However, you can choose the right method as per requirement. If you want to boot safe mode every time the system launches, make sure you are doing this by modifying system configurations or by forcing shutdown.
Also Read


