
Creating a recovery drive in Windows 10 is pivotal for safeguarding against system issues. Understanding the process and the importance of having a recovery drive empowers users to restore their system to a functional state in case of unforeseen errors or crashes. Delving into these steps enables users to craft a reliable recovery tool, ensuring system stability and peace of mind within the Windows 10 environment.
How To Create A Recovery Drive In Windows 10
The first thing to do is that you create a recovery drive in Windows 10. It will save your files and data. In case you ever lose your files, a recovery drive will help you out. That is why you should know how you can establish a recovery drive. To see the method, follow the instructions below.
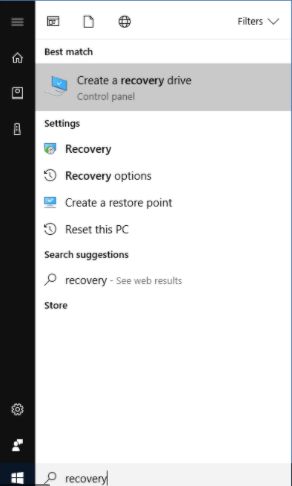
1. First of all, open the start menu.
2. Go to the search bar and write Recovery drive.
3. Now just Tap on the Create a recovery drive option.
4. Alternatively, you can go to the Control Panel.
5. Click on the Recovery icon.
6. Next, click on the Create a recovery drive option.
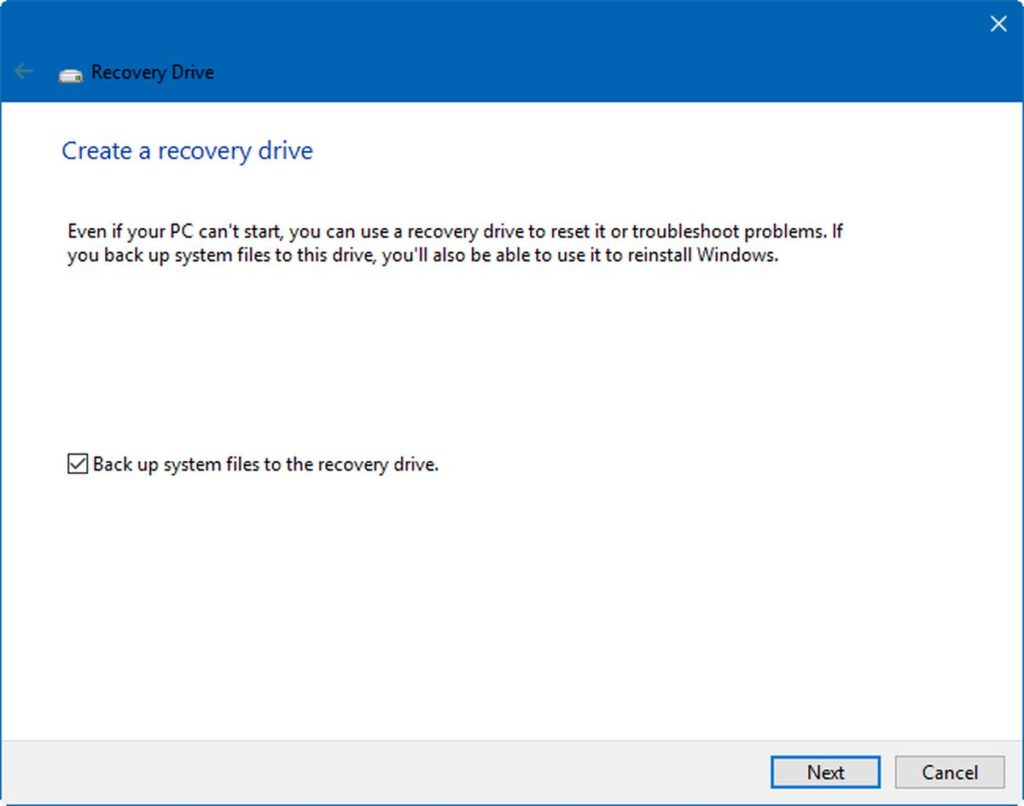
7. On the next window, check the Backup system files with the recovery drive option.
8. Click on the Next button.
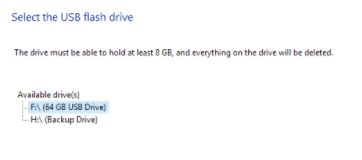
9. Make sure you have inserted the USB or DVD in your system.
10. Wait for a while as Windows is trying to check up the drive you have inserted. If there is more than one drive, you can choose any of them as a recovery drive.
11. Click on the Next button.
12. On the very next screen, Windows will inform you that whatever is there in your recovery drive will be completely removed or deleted. Make sure there are no important files or data in the recovery drive.
13. Now click on the Create option.

14. Your recovery drive will be established.
15. The whole process will take your time, so you need to wait.
16. After the process is finished, click on the Finish button.

After you have created a recovery drive, you should know how to use it. Those days are gone when you find it difficult to fix the Windows-related issues. When the Windows gets damaged and is not getting repaired, now the time is there to use a recovery drive you have created.
Use a recovery drive
To use a recovery drive, you need to be a little careful. Ensure you follow every step and use the recovery drive when your Windows 10 is not in the right state. After using a recovery drive, you will run Windows 10 as you were running it when it was fine. A recovery drive can solve many problems related to Windows 10.
You only need to care that you are taking care of a recovery drive and keeping it safe when you are not using it. In case you lose or damage your recovery drive, you will be at risk as you will lose a copy of Windows 10, which is stored in that drive. To use a recovery drive, you have to follow the instructions below.
- Insert the USB or DVD, whoever is your recovery drive, in the port of your computer.
- Select the key to boot from the recovery drive.
- Next, select the language you understand and the country you live in.
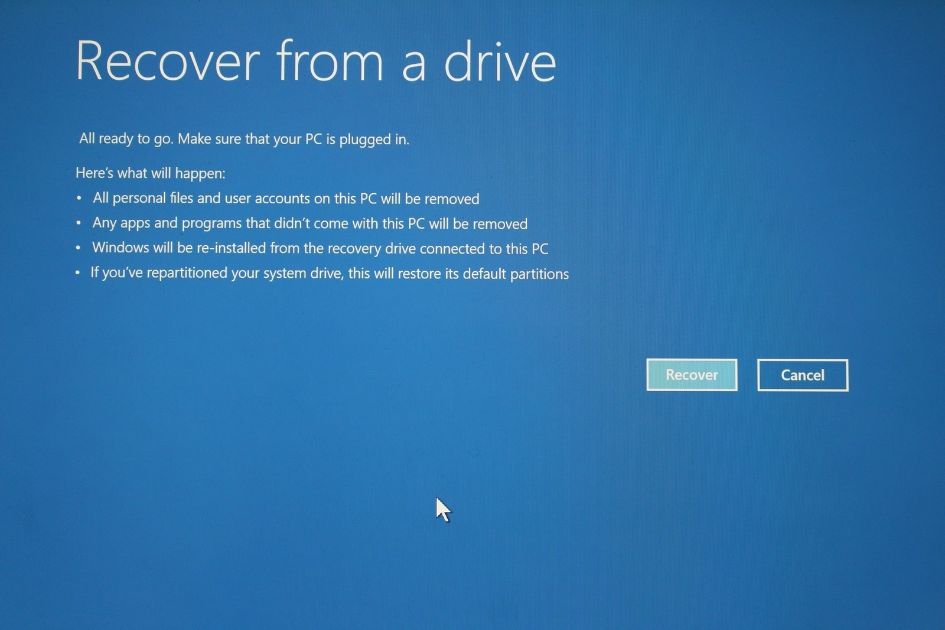
- Tap on Recover from a drive. It will easily take the version of Windows, which you have stored in a recovery drive. Remember, all your data and applications will be deleted once Windows is reinstalled.
- On the next screen, you will get two options. One is just removed my files, and another one has Fully cleaned the drive.
- You can decide on any option. If you want to delete only files, click on the Just Remove My Files option.
- If you want to clean all your operating systems, click on the Fully Clean the drive option.
- Now, the PC will again inform you that all your apps and data will be deleted. After reading the information, click on the Recover button.
- The recovery will happen. You will see that Windows is installed on your PC. Wait for a while until the process is finished.
- Next, you need to set up Windows 10. You have to complete the updates and complete the process of setting up Windows 10 on your PC.
- Now you have to sign in to your Windows.
As you know, you will not see your app and files in the reinstalled Windows. If you had a backup of all your files and data, you could restore them. It will bring back all your files and data to your Windows 10.
Conclusion
In conclusion, crafting a recovery drive in Windows 10 offers a safety net against system failures or errors. By following these steps and creating this tool, users ensure the ability to restore their system to a functional state when encountering unforeseen issues. This proactive approach safeguards data and system integrity, providing a reliable solution for restoring Windows 10 functionality in critical situations.
Also Read


