If you are running out of space the main reason can be the duplicate photos. Duplicate photos are annoying and consume a lot of disk space, which is why it is quite important to organize your photos and delete the duplicate ones. We mistakenly download the same photo twice or multiple times, back up the same file again or file share. We need to search for duplicate files and photos and delete them so that your PC can run smoothly without any crashes or freezes.
Deleting duplicate photos can be a tedious task which is why we are here with an article to help you in removing duplicate photos and free up a huge amount of disk space. In this article, we will discuss the three best ways to delete duplicate photos on Windows 10.
How to Delete Duplicate Photos on Windows 11, 10 PC
So, without wasting any time let’s read the methods and the steps to delete duplicate photos properly.
1. Use Windows Photos App to Delete Unwanted Duplicate Photos
This is one of the easiest ways to remove similar photos from your Windows PC. Windows Photos App helps in organizing photo libraries. You can use the Windows Photos App to delete unwanted duplicate photos by following given below steps:
1. Open Microsoft Photos on your Windows PC and navigate to the collection tab.
2. Now, browse through photos and search for duplicates, and if you find any right click on it and delete it.
3. If you find various duplicate files then select them all and click on the delete icon to send them to the recycle bin.
4. If you want to delete duplicates permanently then simply press the shift + delete keys on the keyboard.
2. Use File Explorer to delete duplicate photos
Another way to delete duplicate photos on Windows 10 is using File Explorer. Previously, it was known as Windows Explorer. You can use it to organize a photo library and delete duplicate photos. It is a time-consuming task so use this method only if you have sufficient time.
Follow the given below step to use File Explorer for removing duplicate photos:
1. Firstly, open File Explorer and choose the folder you want to search for duplicate photos.
2. After that, enter kind: in the search box and Click on the picture from the drop-down list.
3. All the photos that are contained in the folder will be displayed along with the ones in subfolders.
4. Now, navigate to the view tab and choose either extra large icons or large icons.
5. Then click on the details pane option.
6. Click on the drop-down arrow next to sort by and choose either size or name.
7. Several photos will be displayed on the screen. Now preview and compare the photos to identify duplicate ones.
8. Select the duplicate photos and right click on them and choose to delete.
This method involves time and is very frustrating as you need to manually search for duplicate photos. You need to go through each folder and search for duplicate photos. If you don’t want to perform this method then the next method would be the best choice for you.
3. Delete Duplicate Instagram Photos Using Duplicate Photo Cleaner
All the methods we have discussed above are quite time and you need to manually search for duplicate photos which is why you need to have computer knowledge. There are various third-party tools available to delete duplicate photos in Windows 10.
Duplicate photo cleaner is one of the powerful duplicate photo finder and remover tools that help you find all the similar and identical photos. It works on Windows PC, Macs, and smartphones.
This tool can detect duplicate photos whether they are resized, cropped or edited. It can identify duplicate photos if they are in different photos. It supports various image formats including JPG, TIFF, PNG, and many other files for all famous camera brands as well as Apple ProRAW, PSD, and many others.
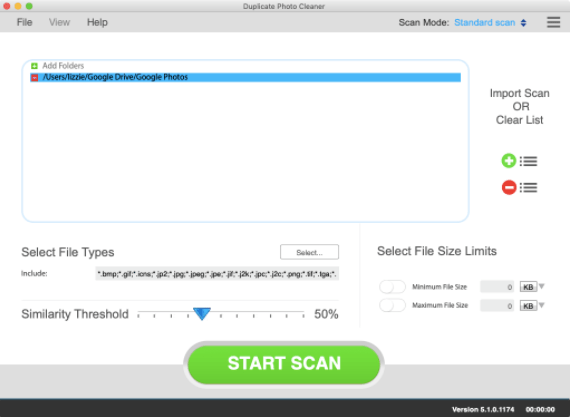
1. Download and install the Duplicate Photo Cleaner on your PC.
2. Launch it and drag and drop the folder you want to scan for duplicate photos.
3. Run a scan and it will take a few seconds to detect all the duplicate photos. It will organize the scan results into groups.
4. Now, when the scanning is finished it will review the results. You can either check all the duplicate photos side by side in the multiviewer.
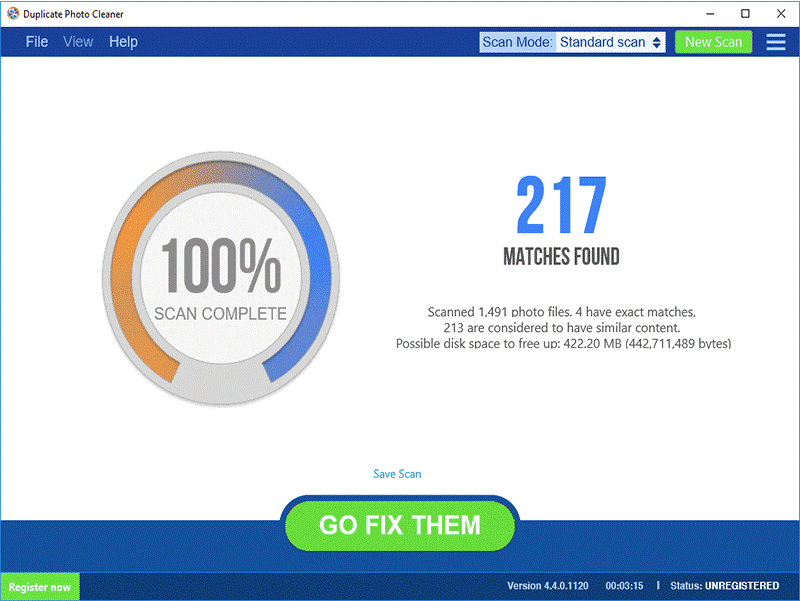
5. Click on the trash icon to delete all the duplicate photos at once. Or you can click on move to take a backup of the selected files.
6. Duplicate photo cleaner allows you to customize settings. So, if you want to make any changes according to your preferences then you can do that.
That’s it! Using Duplicate photo cleaner is quite an easy way to get rid of duplicate and similar-looking photos. It is reliable and trusted by millions of people and doesn’t affect your PC.
Conclusion
In conclusion, deleting duplicate photos on Windows is streamlined with various user-friendly tools that efficiently identify and remove identical images. These methods, coupled with intuitive interfaces and robust scanning capabilities, simplify the task of decluttering photo libraries.
While preferences differ, these solutions excel in accuracy, speed, and customization, ensuring a more organized and optimized photo collection for Windows users. Embracing these techniques empowers users to efficiently manage storage space and maintain a clutter-free photo gallery, enhancing the Windows digital experience.
Also Read