
Windows 11 is the best-performing operating system but it doesn’t mean that it doesn’t contain any complications or suffers from severe problems. Many issues in windows 11 can be resolved only by reinstalling the fresh version of Windows.
But the reinstallation of Windows erased whole data so if you want to protect your precious data then you use the restore point features provided by Microsoft. This restore point helps you to preserve the current state of your windows so that you can do reconfiguration of files without any problem.
How to Use System Restore on Windows 11
You must be aware of the fact that default windows don’t create a restore point in your system and it consumes a lot of disk space. In this article, we will provide you with the best and easiest method to create a restore point in your Windows 11 which will resolve a lot of problems that you’re facing. So let’s discuss it.
How to Open the System Restore settings?
1. Click on the start menu to open the settings.

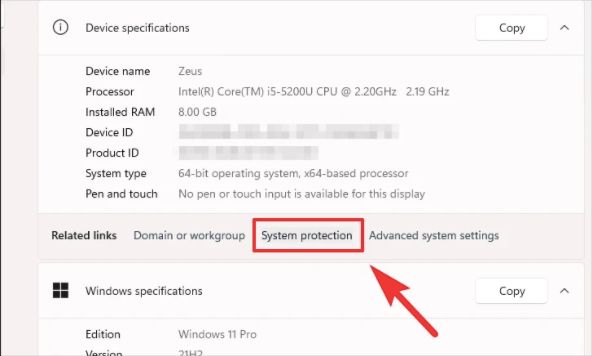
2. Now search for the “system tab” and find out the “about” from the available list and select it.
3. Open the system protection options then look for system properties in your Windows 11.
3. You will find system restore settings from the system properties which will allow you to create a restore point in your system.
How To Enable System Restore
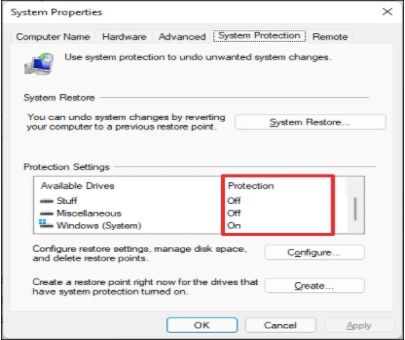
1. If you want to create a system restore then you have to first enable the system restore options which are disabled in default windows. In the system properties when you click on the protection settings window.
2. It will show the protection status of drives. If the column of protection is On then it means that it’s turned on. If the protection status is OFF then you have to turn it on. You have to click on the configure button from the ‘protection settings’ to open the “system protection” window.
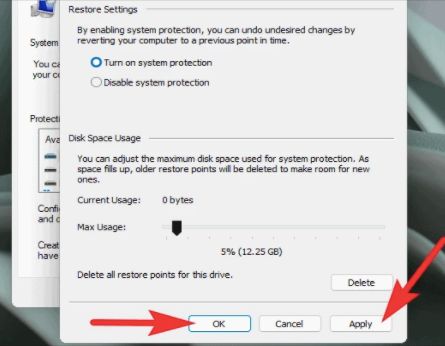
3. You will find disk space usage when you drag the slider which will allow you to adjust the amount of space that you want to distribute for system restore points.
4. Now select the apply button to save the changes. This will enable the system to restore points for your chosen driver automatically. You have to repeat these steps for all drivers one by one. You can’t choose all drivers in one step.
How to Recover Your PC by Using a System Restore Point
After enabling and creating the system restore point in your Windows 11, it’s very important to know how to restore your system. In this section of the article, we will provide you with two different methods to restore the system:-
1. By using windows recovery environment
We suggest you use this method only when you’re not able to log in to the system restore point.
1. Select the power icon for booting your windows 11.
2. After choosing the power icon press the shift key and opt for the restart option. Select the Windows recovery environment and then open the troubleshooting options.
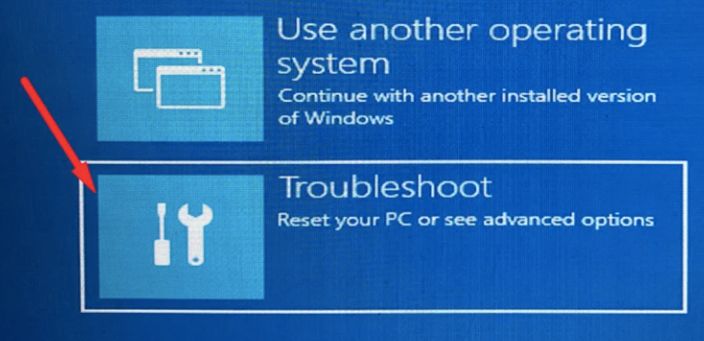
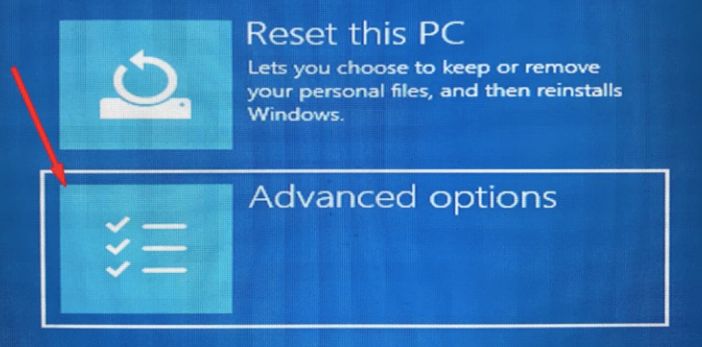
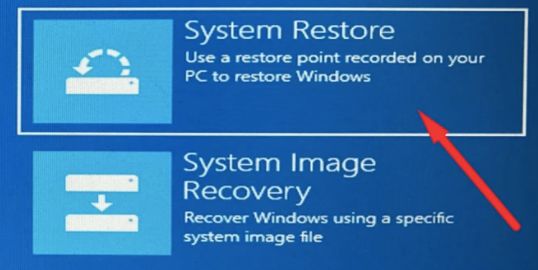
3. In the troubleshooting options you will find advanced options which will help you to create a system restore point in Windows 11.
4. Now you will find that a system restores window is appearing on the Windows screen.
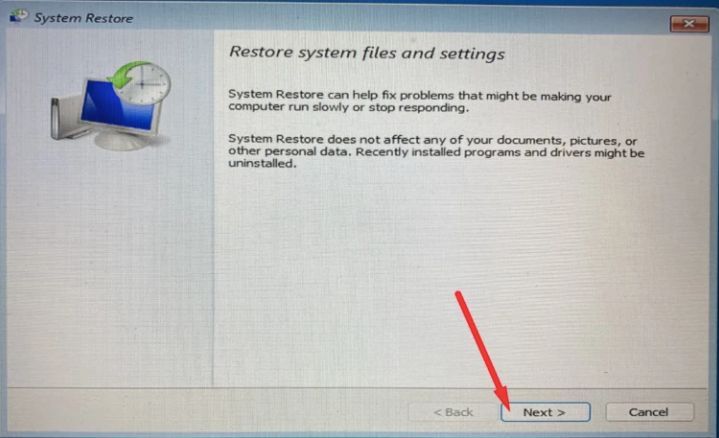
5. Click on the Next button and then choose the system restore point.
6. Now click on the ‘scan for affected programs’. This will help to detect the programs which are the main causes for impacting the performance of the system.
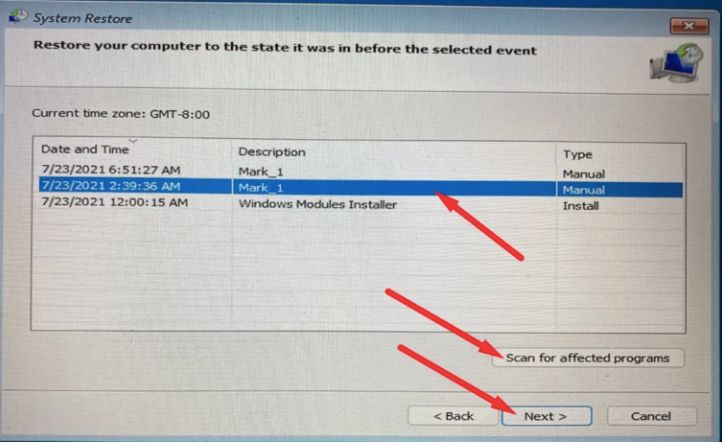
6. Click on the finish button to initiate the system restore process in your Windows 11.
2. By Using System Restore Settings
If you can log in to the system restores settings then you can use this method to create a restore point in your system. You need to just follow these steps which we are giving here:-:
1. Open the system restore settings and find the system restore option.
2. You will find that a new window is opening in the taskbar i.e. system restore window.
3. Choose the next option from the system restore window.
4. Open the system restore point for scanning the affected files.
5. Click on the next button to enable the system to restore for more than one drive.
6. After some time you will find that information for the restore point is appearing which will allow you to initiate the system restore process.
FAQs
What happens when you use system restore?
System restore is an amazing feature provided by Microsoft that helps you restore your previous data and configuration settings after the reinstallation of Windows. There are a lot of things that happen when use system restore such as:-
- File associations are changed
- New files aren’t deleted
- A restore point is created
- Wallpaper is reverted
Should I use Windows system restore?
Window system restore enables you to save your data after reinstallation of the window. We suggest you use Windows system restore in your Windows 11 because it simply solves a lot of issues.
How do you create a restore point in Windows 11?
There are a lot of methods to create a restore point in your Windows 11. In this article, we provide many options which allow you to create a restore point. You can just refer to the given steps and it will solve your problem.
Is it bad to do a system restore?
The system restore isn’t bad for your system. On the other hand, it will increase the performance of your Windows 11. This is the perfect solution if you want to reinstall your windows in emergency cases. It will not cause any harm to your files.
Conclusion
In this article, we discussed how to perform and create a system simply restored in Windows 11. Generally, it is advised that you should use system restore points during reinstalling Windows because it will save your data from damage. There is another advantage of using the system restore point is that it occupies a little disk space usage and prevents the high disk cause.
Also Read