
Are you experiencing problems with your Logitech G Hub on your windows? The problem could be your Logitech G Hub Not Working, your Logitech G Hub not installing, or your Logitech G Hub not loading. Sit back and read on as we highlight reasons for these issues s well as how to troubleshoot the issues.
Logitech HUB is a well-known Swiss company known worldwide for its high-quality computer accessories. The Logitech G HUB takes a very long time to launch, and many customers have recently begun to experience problems with g HUB not starting in Windows 11 and 10 PC.
As a result, using the software that provides a single portal to modify and manage all of your suitable Logitech G gears is getting more challenging. As a result, we will give you methods to fix the Logitech G HUB not working problems in Windows 11 and 10.
Why is my Logitech G hub not opening?
For the same reasons that many other software programs fail to launch on Windows 10 or 11, the Logitech G Hub may not function. There could be damaged or incomplete files in the software. Reinstalling Logitech G Hub is the best course of action.
Another possible cause of the Logitech G Hub not functioning in Windows 11 could be defective or obsolete device drivers on your computer. As a result, updating your PC’s device drivers may be necessary to resolve the problem.
The Logitech G Hub software has an LGHUB Updater Program as well. The software can only be opened if that service is activated and active.
Therefore, another possible reason the Logitech G Hub may not be functional is a non-functional LGHUB Updater Program.
5 Fixes For Logitech G Hub Not Working
1. Restart the Computer
The first thing you should do if your computer has a problem is to restart it. Even though it seems very simple, it typically works. Rebooting the computer clears the cache and terminates any background processes that might be problematic. But if restarting the computer doesn’t help, go to the next action.
2. Update drivers using Driver Booster
There are typically two ways to update drivers: manually and automatically via Driver Booster.
Update Drivers Manually
Device Manager is included in Windows, enabling users to manage and update their computer’s drivers manually. The processes for updating the driver on those operating systems are relatively similar.
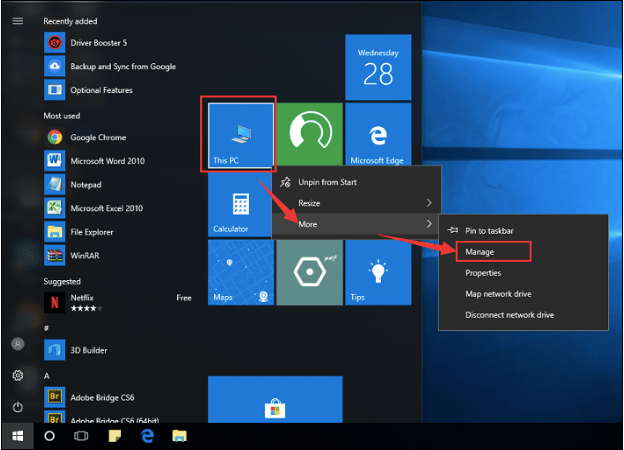
1. Locate “This PC” in the Start Menu’s left-hand menu, then click the right button on it and choose “Manage.”
2. The hard device sections can be seen in the right bar after you locate and click “Device Manager.”
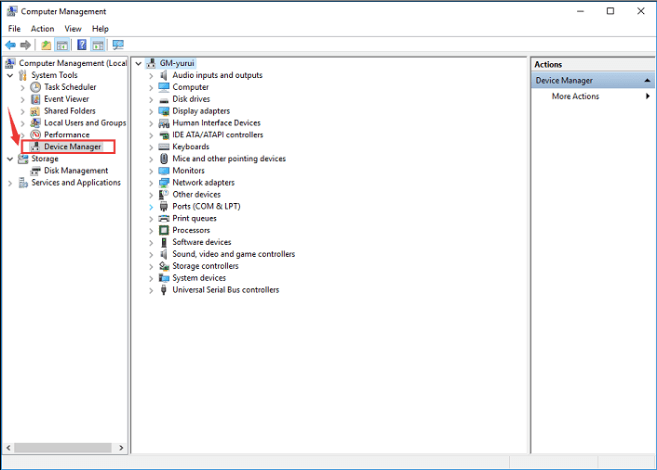
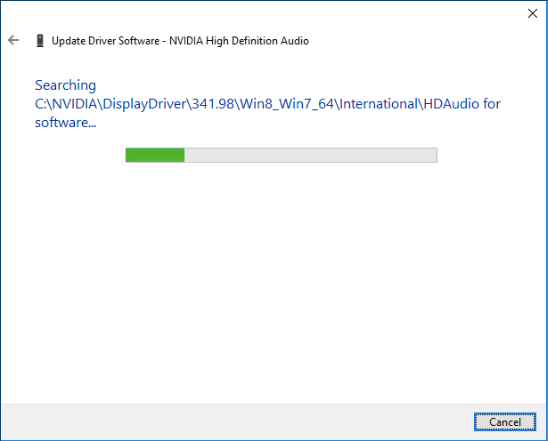
3. Extend the selection of drivers by double-clicking on “Sound, video, and game controllers,” then right-click on the driver you want to update and choose “Update Driver Software.”

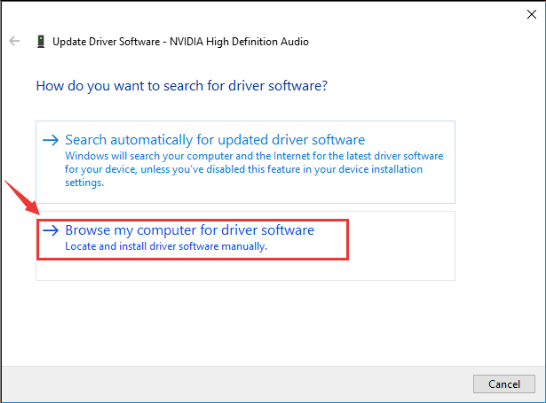
4. To find and manually install the driver software, click “Search your pc for driver software.”
5. Look through the driver and press “Next” to proceed.
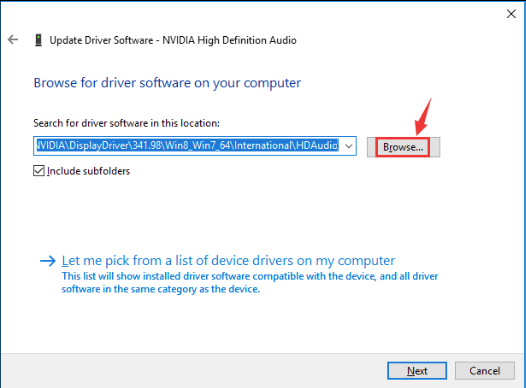
6. Windows will choose the appropriate driver software for your PC.
Automatically Update Drivers
1. Download and install Driver Booster on your Windows PC


2. One-Click the Driver Update
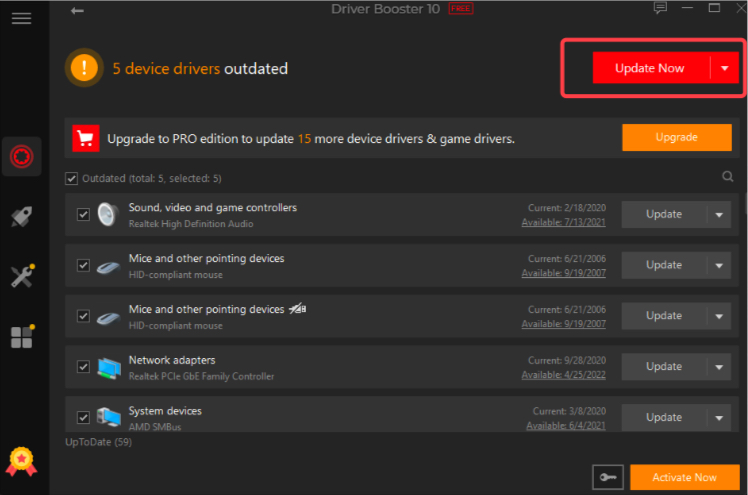
Your drivers will receive a complete upgrade without further operations in the future.
3. Update Windows
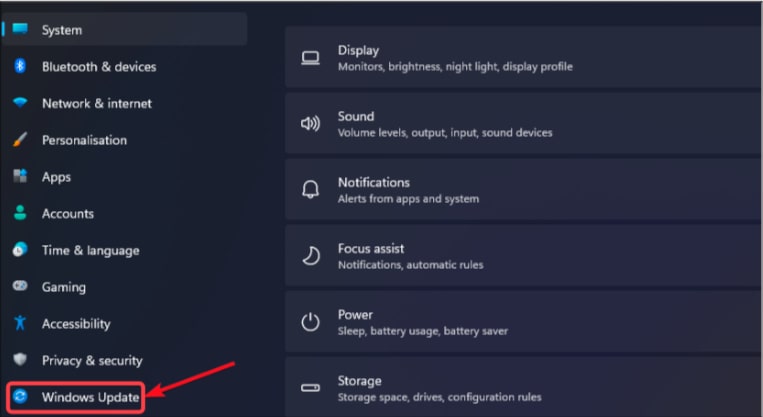
1. The Settings app may be launched by simultaneously pressing the Windows + I keyboard shortcuts.
2. The Windows Update tab should be selected.
3. To download and set up any available updates, click Check for updates.
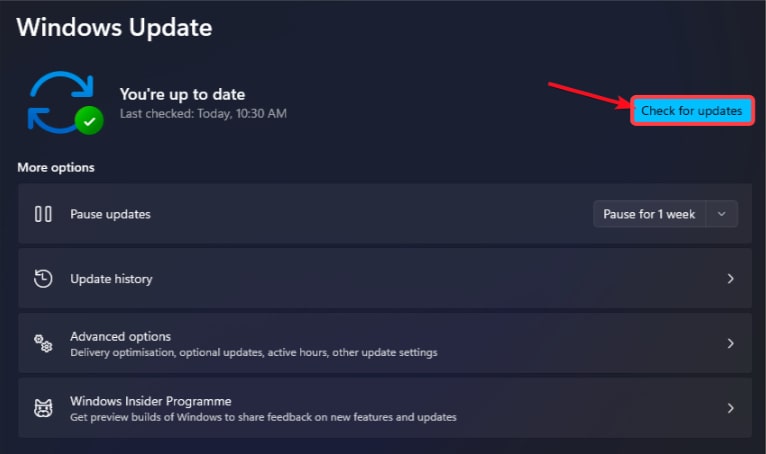
4. Select Necessary Updates in Settings, then select the Advanced options.
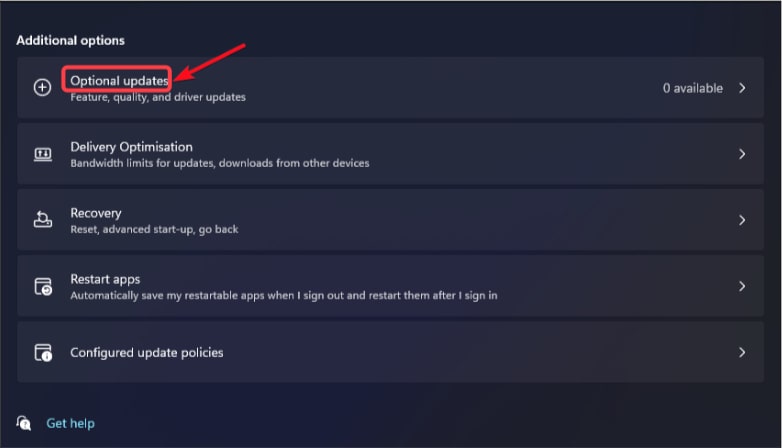
5. After that, choose any optional driver upgrade checkboxes and press the Download & Install link.
4. Launch Logitech G Hub in administrative mode
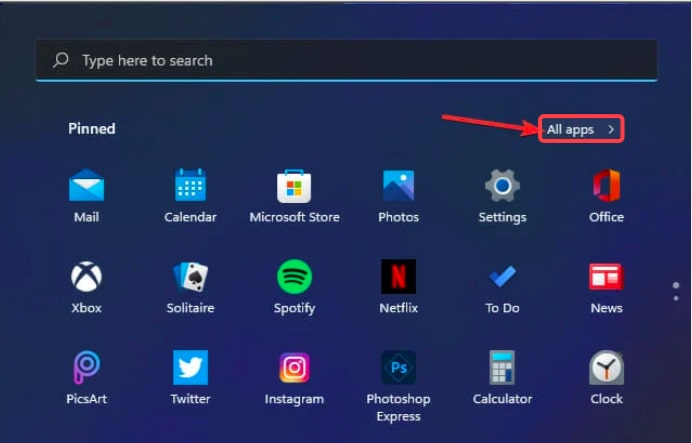
1. On the taskbar, click Start, then choose All Apps from the menu.
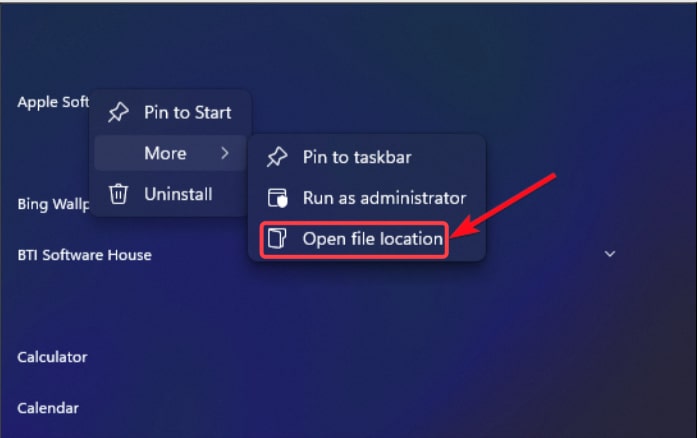
2. Browse file location by choosing More from the context menu when right-click the Logitech G Hub program on the Start menu.
3. Right-click on the lghub.exe file and choose Properties from the context menu that appears.
4. To access the settings for that tab, select Compatibility.
5. On that tab, tick the box next to the phrase “Run this program as administrator.”
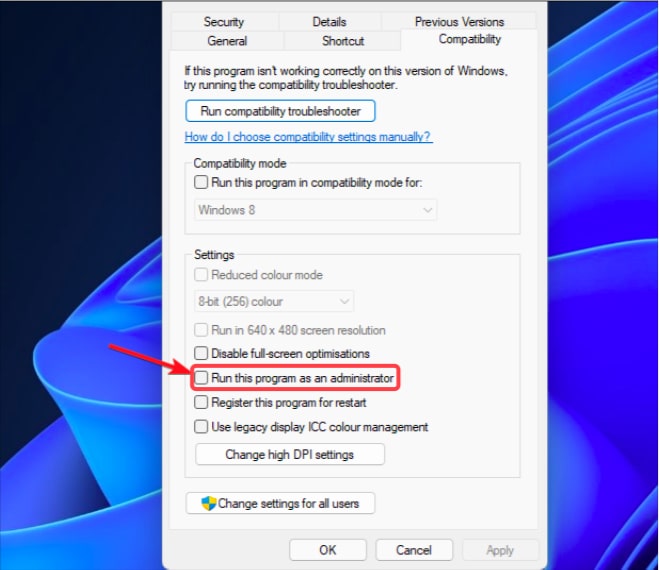
6. On the Logitech G Hub Options window, click on the Apply link.
5. Reinstall Logitech G HUB
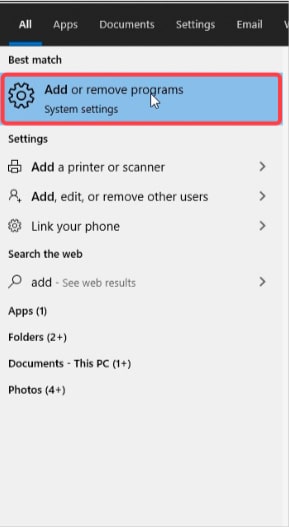
1. Type “Add or remove programs” into the Windows search box.
2. Search for Logitech G HUB in the newly opened window.
3. Choose, uninstall, and confirm your choice.
4. The final step is to restart the computer to apply the modifications.
Conclusion
Using the above methods, you may quickly repair Logitech G HUB not loading on Windows 11/10. You can restart Logitech G Hub in Windows 11 using those suggested fixes to restore its function. After trying those fixes, if the problem persists, you should contact Logitech support.
Also Read


