
Project playtime is one of the popular multiplayer horror games which is free to play. It has been liked by millions of users around the globe since its launch. But like other games, it also has bugs and errors which are quite annoying for the players.
Many users have frequently reported that they are facing project playtime failure to connect to server error. If you are also the one who is fed up with getting this error then you have landed on the right platform. In this article, we will mention the best methods to fix the error along with the reasons that are causing the issue.
Reason Why Project Playtime Failed to Connect Two Server
Some of the most obvious reasons why project playtime failed to connect to the server are:
- One of the major reasons is network issues. To use project playtime you need an active Internet connection and if the connection is poor you may face the issue.
- Sometimes the error lies in your device. So check if the game is working on a different computer or not.
- Maybe the firewall or the antivirus software in your device is blocking the connection to the server. Make sure to add the game to the list of the software.
- The cache and cookies in your browser causing the error.
- When the Server is down you are unable to connect to the server.
Before moving to the methods to fix project playtime failed to connect to the server let’s have a look at some of the following given points.
- Firstly check your Internet connection Whether it is stable or not.
- Use a different device to access the server.
- Restart your PC, router, and modem.
- Look for the minimum system requirements of the game.
- Check if any update is available for the application.
If the above ways do not fix the project playtime failed to connect to a server then let’s have a look at the best troubleshooting methods to fix it.
How to Fix Project Playtime Failed to Connect Two Server
Method 1: Check the server status
To execute this method you need to visit the project playtime Twitter page. You will find all the messages and updates related to the server as the developers post all the information on their Twitter accounts. If the server is down or the system is under maintenance then you will find the message on its page.
If you find out that the server status is good then simply restart your PC, router, and modem.
Method 2: Disable IPv6
To execute this method follow the given instructions.
- Firstly press the Windows key + R together on the keyboard. It will open the run window.
- Now type ncpa.cpl and press enter key that will open network properties.
- Navigate to the active connection and right-click on it to choose properties.
- Under this connection use the following items section untick Protocol version 6 [TCP/ IPv6].
- Lastly, click OK and re-launch the project playtime to check if the issue is fixed or not.
Method 3: Use Google DNS
- Press the Windows + R keys together on the keyboard to open the run window and type ncpa.cpl and hit the enter key.
- Right-click on your active connection and click on the properties option.
- Under this connection use the following items section double click on Internet Protocol version 4 [TCP/PV4].
- Click on Use the following DNS server addresses and type 8.8.8.8 in the preferred DNS server and type 8.8.4.4 in the alternate DNS server.
- Click OK and then click OK.
Method 4: Flush DNS
- Press the Windows key on the keyboard type CMD and click on run as administrator.
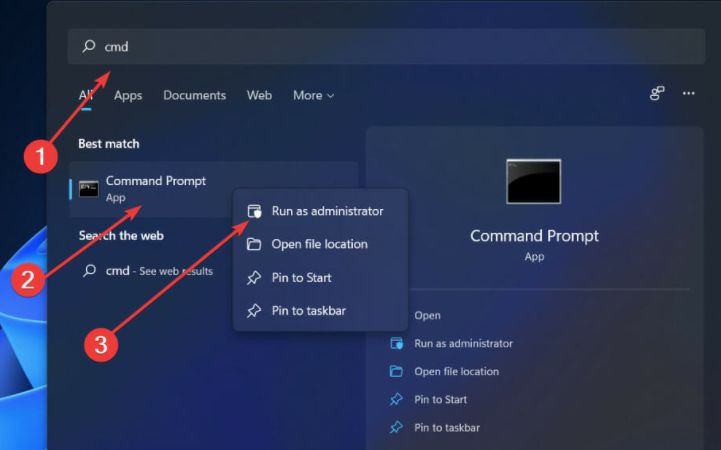
- Type the following command ipconfig/ flushdns and hit the enter key.
- Lastly, restart your PC and check if the issue is still there or not.
Method 5: Verify the integrity of game files
- Launch Steam and then go to the library.
- Scroll the games list and right-click on Project Playtime to choose the properties option.
- Now, choose the Local files and click on verify the integrity of the Games files option.
- When the process ends re-launch the Project Playtime and check if the issue is resolved or not.
Method 6: Permit the app through the Firewall
- Press the Win + I keys together on the keyboard to open settings.
- Next, go to the Privacy and Security option in the left pane and click on Windows Security.
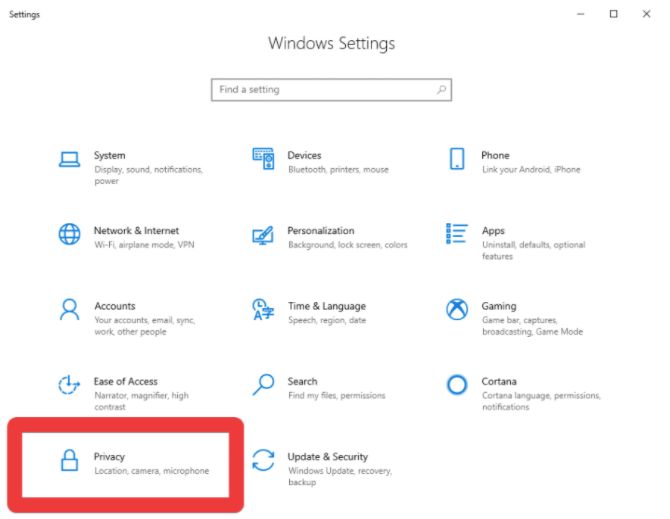
- After that, click on Firewall and Network Protection.
- Select Allow an app through the Firewall link.
- When the next window appears click the change settings option. Click Allow another app.
- Next, click Browse.
- Now, scroll down the list choose the app, and click on the open option.
- Click add and lastly click OK.
Method 7: Contact Project: Playtime Support
If the above methods don’t help you to get rid of Project Playtime’s failure to connect to a server then the only way is to contact Project Playtime Support for assistance. Let them know all the situation and the troubleshooting methods you have used. They will try their best to help you out from the issue.


