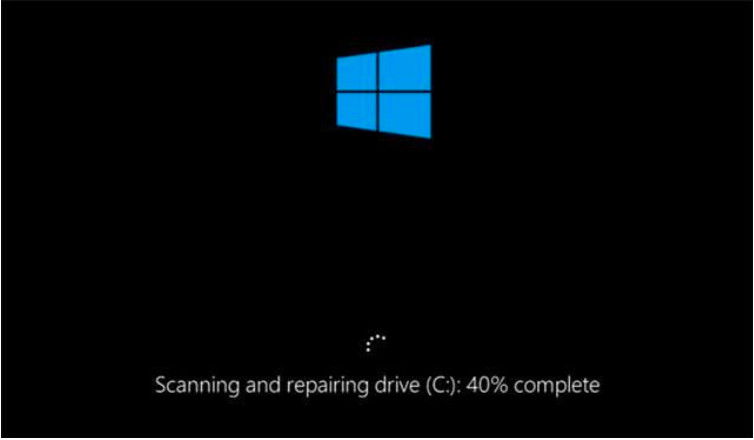
No matter how hard we try to avoid encountering unexpected errors on our systems, yet they seem to have become an integral part of our lives. The “scanning and repairing drive stuck” error is one such error. This error surfaces when one is trying to boot their Windows PC.
When this error occurs, then your PC will be stuck for a prolonged time duration.
This error can occur due to multiple reasons and can be annoying if people have to wait for hours before the system boots up correctly. So, if you have unfortunately encountered such a problem and want to desperately know its fixes, then here is a blog that lists six effective solutions for Windows 10 scanning and repairing drives Stuck at 0, 10, 100 error.
Reasons for Windows 10 Scanning and Repairing Drive stuck at 100
Windows Automatic Repair checks disks and it is similar to Startup Repair. Whenever the computer is unable to boot up, the scanning and repairing drive process is automatically initiated by Windows. Windows Automatic Repair first diagnoses the error and then attempts to scan and repair drives C & D.
When the error happens, then it appears as though the scanning and repairing hard drive process will continue forever as it partially finishes and gets stuck at a certain percentage midway.
If the scanning and repairing process gets stuck, then it is evident that Windows Automatic Repair is facing trouble reading the drive. The following are the reasons that cause this error.
- Poor disk connection issues
- The presence of bad sectors on the hard drive
- Corrupted file systems
- Incorrectly configured drivers
- Malware attacks
- The computer was shutdown forcefully or had a power outage.
How To Fix “Scanning and Repairing Drive Stuck at 100” in Windows 10
Find six solutions below that can come in handy when you come across the repairing drive stuck error.
1. Wait until the ‘scanning and repairing drive’ process is finished
The simplest method is to wait for a while and see if the issue is resolving on its own. Many times, if Windows is facing a minor error, then it will resolve on its own automatically in some time.
If the hard drive is in poor state, then the duration to fix the problem might elongate. But, if you don’t have that long, then try the advanced methods provided below to resolve the error.
2. Disk Connection should be checked
Sometimes, such errors can happen due to lost connections. Therefore, before moving on to the advanced fixes, recheck all the cable connections and ports to ensure that connectivity between the disks and PC is sound.
3. Disable Windows Automatic Repair
Windows Automatic Repair is a process similar to Startup Repair which is responsible for scanning and repairing drives when Windows is booting up. But this could also be the primary cause of the scanning and repairing drive stuck error.
To disable Automatic Repair, you need to enter the Windows Recovery Environment or do it with the help of the Windows installation media. Use the below instructions to do it with WinRE:
- Press the power key of your computer for about 10 seconds to shut down the PC completely.
- Now again start the PC.
- As soon as you see the PC manufacturer logo on your computer screen, press down the power button again for a few seconds to shut down the system.
- Again, switch on your Windows machine. Once the machine boots up this time, you will migrate to WinRE mode.
- Now, select Troubleshoot and then Advanced options from the “Choose an option” screen.
- Further, select Command Prompt and type the following command:
bcdedit
The value of an identifier is {current} and “recoveryenabled” is “Yes” under Windows Boot Loader.
- Now again type the following commands to disable Automatic Repair:
bcdedit/set {current} recoveryenabled no.
- Finally, give your computer a restart.
4. Disable Automatic Chkdsk
If the hard disk appears to be fine, then you can disable CHKDSK on booting by taking help of the following steps.
- Enter Safe Mode and then launch the Run dialog box by clicking the Windows + R keys.
- Then, type “regedit” and press the “OK” button.

- Now navigate to the below location:
HKEY_LOCAL_Machine\System\CurrentControlSet\Session Manager
- Now select BootExecute from the right-side pane.
- Next, a pop-up window will appear where you have to change the Value Data to “autochk /k:C.” Click the “OK” button after this.
- Finally, exit Safe Mode and then reboot your system.
5. Check file systems
You can run a system file checker if the Windows 10 scanning and repairing drive issue is being caused by corrupted file systems.
- First of all, you need to enter Safe Mode.
- Then, launch Command Prompt as the administrator.
- Now, type the command “sfc/scannow” and press the Enter key simultaneously.
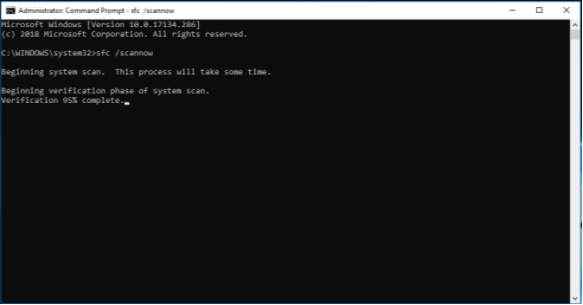
- Wait till the scanning process completes and then restart your PC.
6. Try System Restore
If you have created a System Restore point previously, then you can try restoring your system to a previous error-free point.
- Force shut down the computer three times by pressing down the Power button.
- Doing this will help you enter the Windows Recovery Environment.
- Now from the “Choose an option” screen navigate to the System Restore wizard by following the below path:
Troubleshoot > Advanced options > System Restore

- Click Next on the pop-up window.
- Further, choose a restore point and then again click Next to continue.

- Finally, you have to confirm your action and click the Finish button.
7. The scanning and repairing of the drive should be stopped in the Windows
You should disable the automatic disk complete checking process in the Automatic Repair option in the computer system.
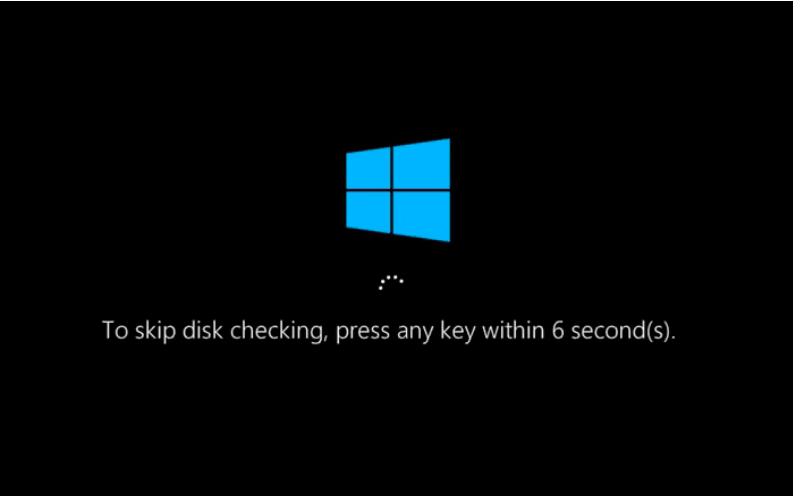
To bypass the scanning and repairing drive option at the time of Windows startup can be achieved by clicking any key of the keyboard. The following are the steps that are required to achieve this:
Step 1: Scanning and repairing the drive is stuck for which the power button should be pressed to shut down the computer system successfully.
Step 2: After turning on the system message of ‘Preparing Automatic Repair’ is seen on the screen diagnoses the computer system further.
Step 3: Now before the disk-checking process gets start, you are required to click any key on the keyboard to disable the disk-checking process on the system.
Conclusion
This error can occur for prolonged durations. Therefore, when you come across such a situation, you can use the above-mentioned six methods to resolve the scanning and repairing drive stuck error.
Frequently Asked Queries
How long does scanning and repairing a drive take?
When Windows throws up this error while the system is trying to boot up, then it can last for several hours. Sometimes users have witnessed facing the scanning and repairing drive stuck error for 24 hours straight.
How do I stop scanning and repairing drive C 100 complete?
There are several ways to fix this error including booting in Safe Mode, running SFC scan, fixing through the DISM command, etc. Refer to the detailed steps of the six fixes provided in this article.
How do I bypass scanning and repairing drives in Windows 8?
You can do this by simply disabling automatic repairs on Windows 8 and 8.1.
How long does disk repair take in Windows 10?
Normally, it may take up to 10 minutes for disk repair on Windows 10 but it varies with disk sizes and most importantly the state of the disk.
Also Read:


Thank you very much to the writer for Fix Scanning and Repairing Drive Stuck with a detailed analysis.