Fingerprint Sensor in PC makes your system more secure as your data will be protected and private as your PC can open only by pressing the entered fingerprint. But many users have reported the error fingerprint sensor not working in Windows 11. If you are one of them who is facing the same problem then you have landed on the right platform. In this article, we have listed the best solutions that would help you in fixing the error.
Why isn’t the Fingerprint Sensor working on Windows 11
If your fingerprint sensor is not working on Windows 11 then there might be higher chances that your finger is wet or has some kind of dirt on it or maybe your fingerprint scanner is loaded with dust or dirt. To avoid this clean the fingerprint scanner with a soft cloth or you can even use a cleaning solution to make it clean. Make sure while putting your finger on the fingerprint scanner your finger is clean and dry.

Apart from the cleanliness issues, many other issues cause the fingerprint sensor is not to work on Windows 11 error. Let’s discuss some of the common issues.
1. Outdated Drivers
Drivers are the main element that creates a strong connection between the hardware and your OS. If the drivers are outdated you will face several types of errors while running your PC. So, the fingerprint sensor not working issue can be fixed if you update all your system drivers.
2. Outdated Windows
For the proper functioning of your system, you must updated your Windows because if you have an outdated OS then you might face many issues including the fingerprint sensor not working.
3. Having any virus or malware
You should run a virus scan and must have antivirus software in your system. Virus and malware corrupt your system file and that are why you face several issues. There is a huge chance that having a virus or malware in your system causes the error fingerprint sensor not to work.
These are some reasons that the fingerprint sensor is not working in Windows 11 but apart from these, there can be other unidentified reasons so you need to know the methods to fix the error. In this article, we have listed the top 4 methods to prevent the error.
How to Fix Windows 11 Fingerprint Sensor is not Working
Method 1: Updating Fingerprint Related Drivers
Most often the error fingerprint sensor is not working in Windows 11 is due to the outdated fingerprint related drivers. Follow the given below steps to update the drivers:
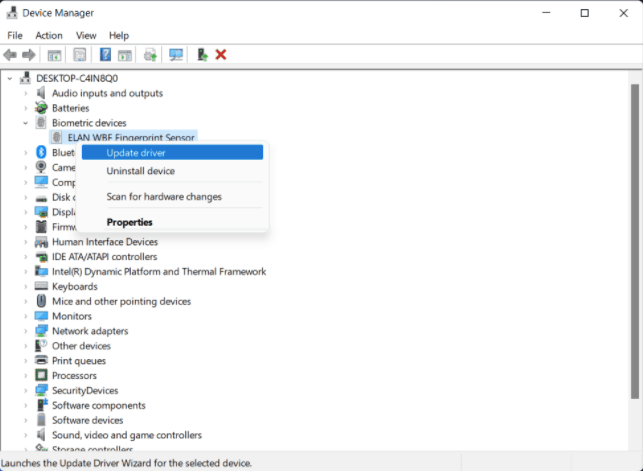
- Open Device Manager by pressing Win + X keys together on the keyboard.

- Now, navigate to the Biometric Devices and double click on it to expand its categories.
- Choose your fingerprint driver, right-click on it and select the Update driver option.
- In the next pop-up window choose the first option Search automatically for drivers.

- Windows will take a few seconds to search for the latest drivers and if available it will install it. At last, follow the on-screen instructions.
After the process has been done restart your system and check if the error is still there or not. Try another method if the error still occurs.
Method 2: Windows Update
Most often the cause behind fingerprint sensors not working in Windows 11 is outdated Windows. To fix this you need to update your Windows by following these steps:
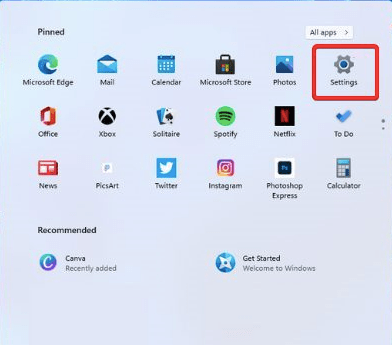
- Click on the start menu and select settings.
- When you landed on the settings window click on the Windows Update from the left side of the page.
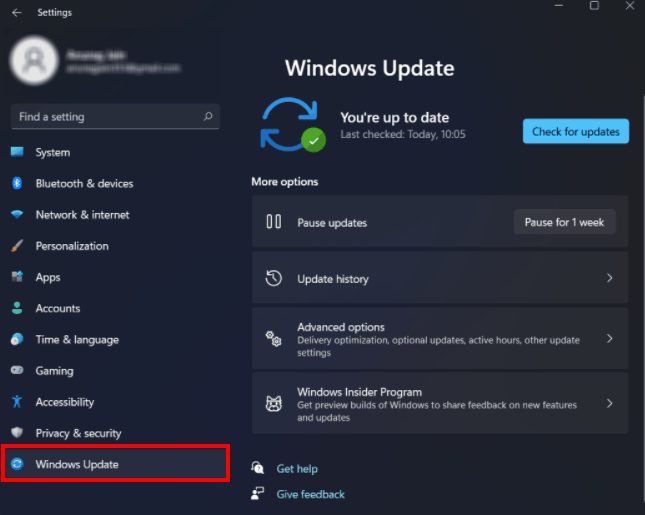
- After that click on the check for updates option.

- In a few minutes, Windows will search for the latest updates and present a list in front of you. Now, download and install all the updates.
- At last, restart your PC to check if the issue has been fixed or not.
Method 3: Reinstall the Drivers
If somehow the Fingerprint drivers get corrupted then the only option left to fix the error is reinstalling the drivers. Below are some basic steps that you need to follow to reinstall the fingerprint drivers:
- Open Device Manager, pressing Win + R keys.
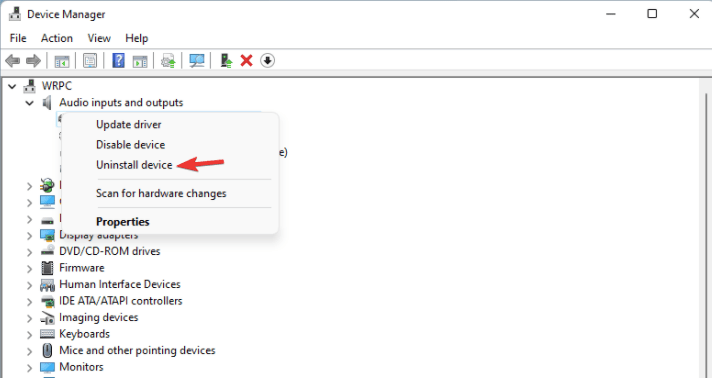
- When the Device Manager window appears, go to the Biometric device and double click on it to expand the categories.
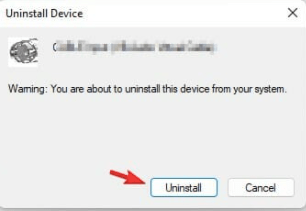
- Now, right-Click on the fingerprint driver and click on uninstall device option.
- In the pop up again click uninstall for confirmation.
- Restart your PC now your Fingerprint driver will be successfully removed. You need not do anything when you restart your PC it will automatically install the appropriate drivers or you can download and install it from its manufacturer website.
This method will surely fix the error fingerprint sensor is not working on Windows 11. If still the error rises then go for the other method.
Method 4: By Adding a new Fingerprint
You can fix the Fingerprint sensor not working in Windows 11 by adding a new fingerprint. For this you need to follow the given steps:
- Hold the Windows + I keys together to open the settings page.
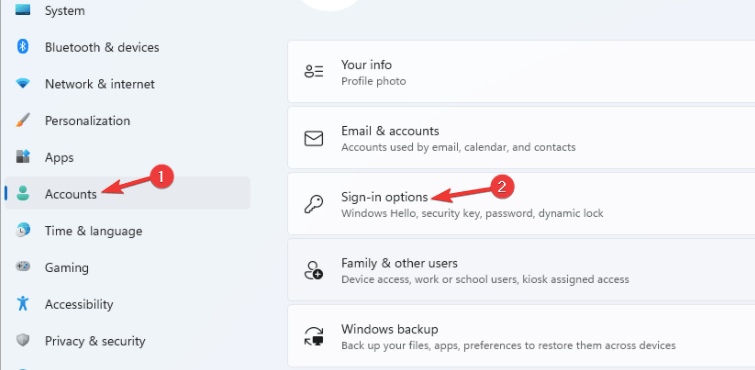
- Now, click on the accounts option from the left side of the page.
- After that click on the sign-in options given on the right side of the page.
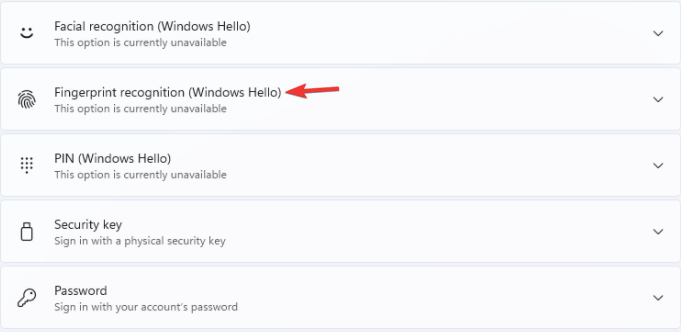
- Then choose the second option which is Fingerprint Recognition (Windows Hello) to expand the options list.
- Now, go to the set up another finger and click on add a finger given next to it.
- After Windows Hello Setup Window appears, select the get started option.
- Type your security pin and press enter.
- Touch the fingerprint scanner and follow the on-screen instructions to complete the process.
Process of Sign in to Windows 11 with Fingerprint
The fingerprint sensor is one of the security features which you will get on a Windows PC. To use this feature you need to set it. Here are the steps to set up fingerprint in Windows 11:
- Open settings by pressing Win + I keys together.
- Next, click on the accounts options from the left side of the window.
- Now, click on the sign-in options.
- After that click on fingerprint recognition.
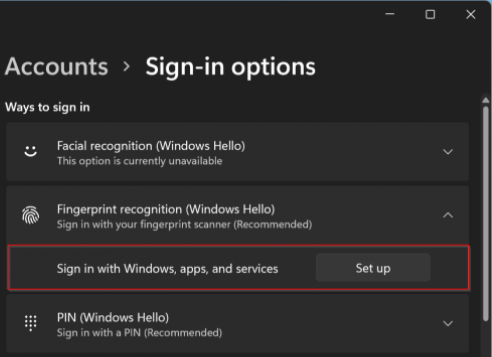
- Next, click the set up which is given next to sign in with Windows, apps and services option.
- In the Windows Hello Setup page, choose the get started option.
- In the windows security prompt box, type account password or PIN and then click next.
- On the next page, register your finger by keeping any of your fingers on the fingerprint scanner.
- After that click on the next option.
- Press your finger, again and again, using different angles and complete the registration process.
- When the registration process finishes Windows will display a message All Set. It is your wish if you want to add another fingerprint then you can click on add another finger. Otherwise, click on the Close option.
All these steps will let you set the fingerprint on your Windows 11. But many times you failed to open your system even touching your finger to the fingerprint scanner. Now, let us have a look at the reasons why you face the fingerprint sensor is not working in Windows 11.
How to remove fingerprints from Windows 11
You can follow the below-mentioned steps to remove fingerprint from Windows 11:
- Open the settings window by pressing Win + I keys.
- Navigate to the accounts option which you will get in the left pane of the windows.
- Then select sign-in options from the right side of the page.
- In the next window, click on fingerprint recognition to expand the options.
- Look for the remove this sign-in option and click on the remove option given next to it.
Conclusion
In the above article, we have listed the best ways through which you can easily get rid of the fingerprint sensor that is not working in Windows 11 issue. I hope you can fix the issue and use this security feature in Windows 11.
FAQs
How do I enable fingerprint on Windows 11?
You can enable fingerprint on Windows 11 by following the below steps:
- Go to the settings click on it.
- When the Windows Settings page appears and clicks on the accounts tab from the left pane.
- Now, click on sign in options and then expand the fingerprint recognition.
- Now, go to the set up another finger section and click on add a finger button.
- To finish the process follow the on-screen instructions.
Why is my Fingerprint sensor not working?
- The fingerprint sensor is not working due to various reasons. Some of The fingerprints you have dirty fingers or have any kind of dirt then it might not recognize you and will not work
- Wet fingers can also cause fingerprint sensor not working issue
- Outdated system drivers
- Due to the viruses
- Outdated windows OS
Why is my Fingerprint not working in Windows?
If your Fingerprint stops working on your Windows PC then there might be several reasons. One of them is outdated or corrupted biometric drivers. To fix this error try to update the drivers to the latest versions.
Is Fingerprint available on Windows 11?
Yes, the Fingerprint sensor is available on Windows 11 but due to several reasons, it fails to work in the system. But don’t worry the issue can be fixed by using the methods which we have already discussed in the above article. One of the methods is to reinstall the fingerprint drivers.
Also Read