
Windows XP is seeing its end days but the operating system itself is not yet redundant and can still be benefitted from. What if you can use the best of both Windows 10 and Windows XP both? What if you wanted to use old apps that would not run on Windows 10?
Wondering how this could be possible. Well, the Windows XP emulator can make this possible for you. For this purpose, you would need to use a virtual machine. Creating a virtual environment for Windows XP inside Windows 10 would facilitate this. Thus if you want to learn how to set up a Windows XP emulator for Windows 10, you need to go through the below segment.
Set up Windows XP emulator for Windows
The below segment offers a step-by-step guide to run Windows XP emulator for Windows 10. Let’s get started without further ado.
1. You need to choose an ideal virtual machine app like Virtualbox by Oracle and install it on your Windows 10 computer.
2. After this, launch the Virtual Machine app and hit the “New” button.
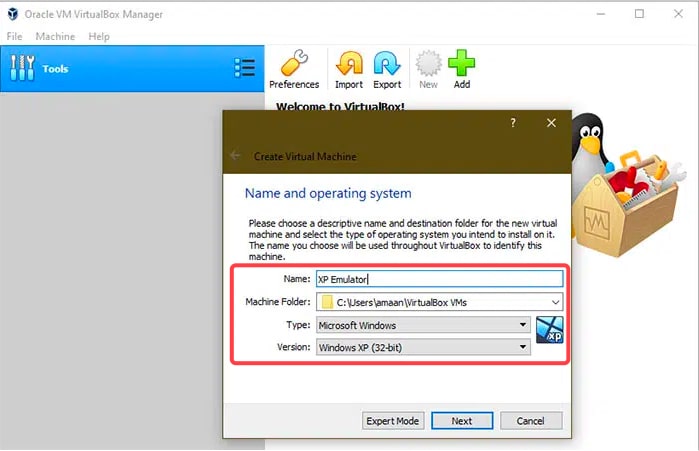
3. This will open a dialog box where you have to name your virtual machine and choose a location for storing the virtual machine.
4. In the “Type” section you have to choose “Microsoft Windows” and in the version box you have to choose “Windows XP 32-bit.”
5. Further, click the “Next” button.
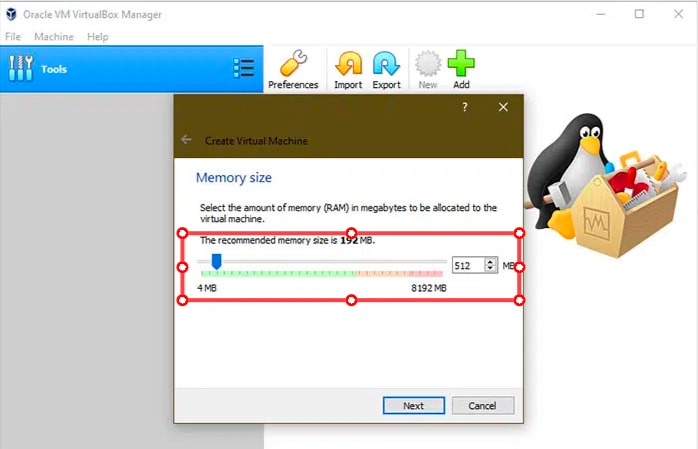
6. Followed by this, you have to choose the RAM amount which should be at least 512MB of RAM.
7. Again, click “Next” to continue further.
8. Here you have to choose the size of the virtual hard disk which will act as the storage point.
9. You will have the option to either “Create a virtual hard disk” or “Use an existing hard disk.”
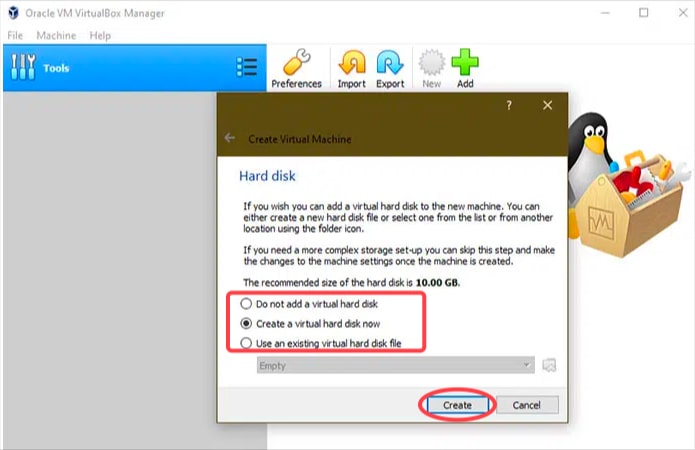
10. In the new popup dialogue, you can leave the settings as they are regarding the “hard disk file type.”
11. After finalizing the size of the hard disk, you will have to choose the “Dynamically Allocated” option to allow the virtual machine to use the available space of the hard disk automatically. Alternatively, choosing the “Fixed Size” option will utilize only a fixed size on the hard disk but it will be faster to use.
12. Once the size and location of the virtual hard disk are chosen, you can wait for about 10-30 seconds for its creation.
13. After this, you will get a message that will read as you have successfully created your “Windows XP VirtualBox.”
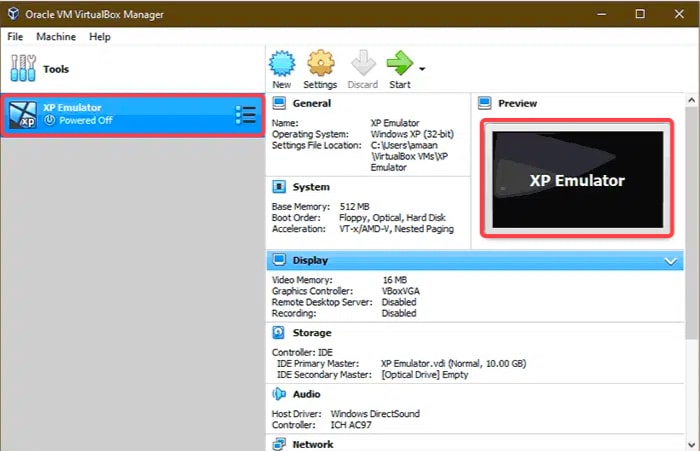
14. Now, click on the “Start” icon to initiate your Windows XP virtual machine.
15. Next, a pop-up will appear to insert the image into the optical drive for which you have to enter the location of your Windows XP ISO image.
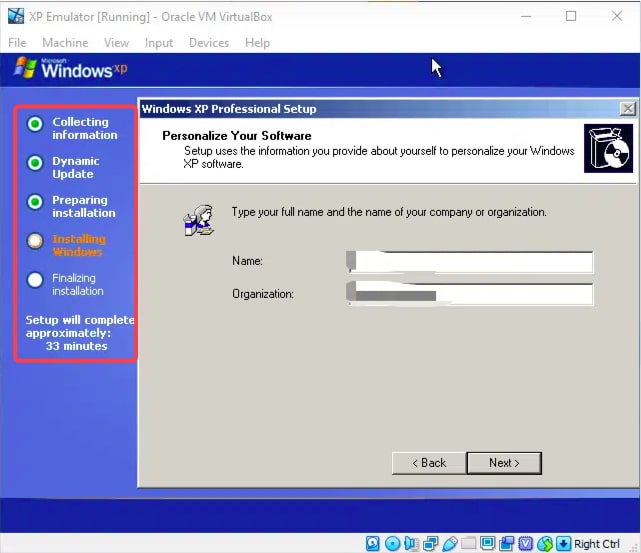
16. Finally, you can reboot the emulator and begin using Windows XP like before.
Signing Off
So, this was all about how you can run a Windows XP emulator for Windows 10. Switching to Windows 10 is the need of the hour. However, if Windows XP users still wish to continue using the old operating system, it is advisable to emulate it as this way they can avoid malware and security breaches.
This is because Windows XP has not been updated with security patches for a long time now. Do like, share, and subscribe to our blog.
Also Read
- 5 Best PSP Emulators for PC & Android
- 4 Best PlayStation 5 Emulators For PC
- 10 Best Nintendo DS Emulator For Windows 11/10 PC
- 10 Best Xbox 360 Emulators for Windows 11 / 10 PC
- 5 Best PS4 Emulators For Windows PC
- 7 Best PS3 Emulators For PC
- 9 Best PS1 Emulators For Windows 11/10 PC
- 7 Best Terminal Emulator for Windows 11/10 PC
- 11 Best NES Emulator for Windows 11 / 10 PC